Cart
0


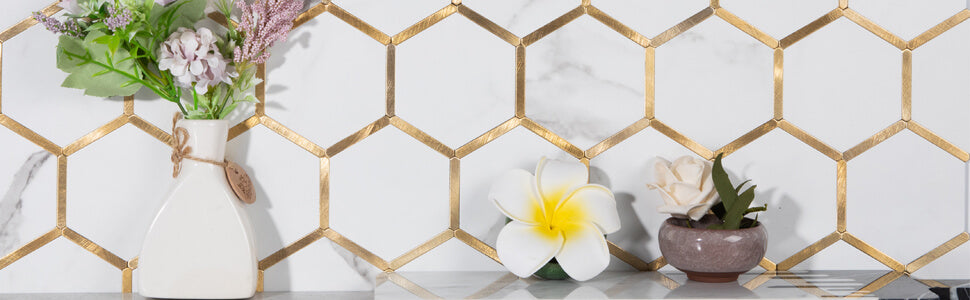
Diflart Peel and Stick Backsplash Hexagon PVC Tile Faux Marble with Gold Metal Strip for Kitchen Bathroom - 1 Sheet
$10.99

SPECIFICATIONS
Sheet Size: 12.4 x 10.8 Inch
Thickness: 0.15 Inch
Weight: 0.7 Lbs Per Sheet
Coverage: 0.93 Sq.ft. Per Sheet
Priced By: Box
Material: PVC Mixed Metal
Color: White with Gold
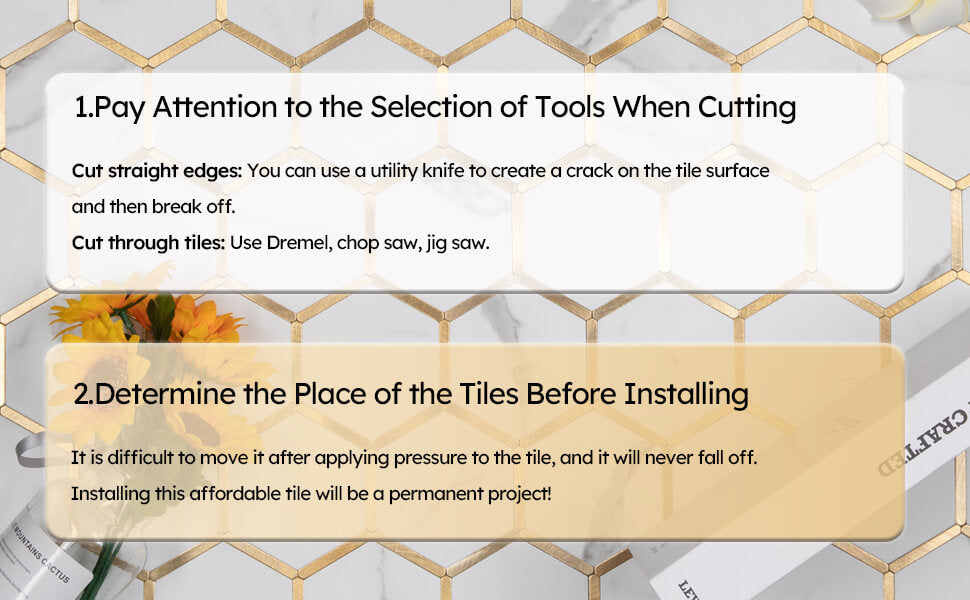
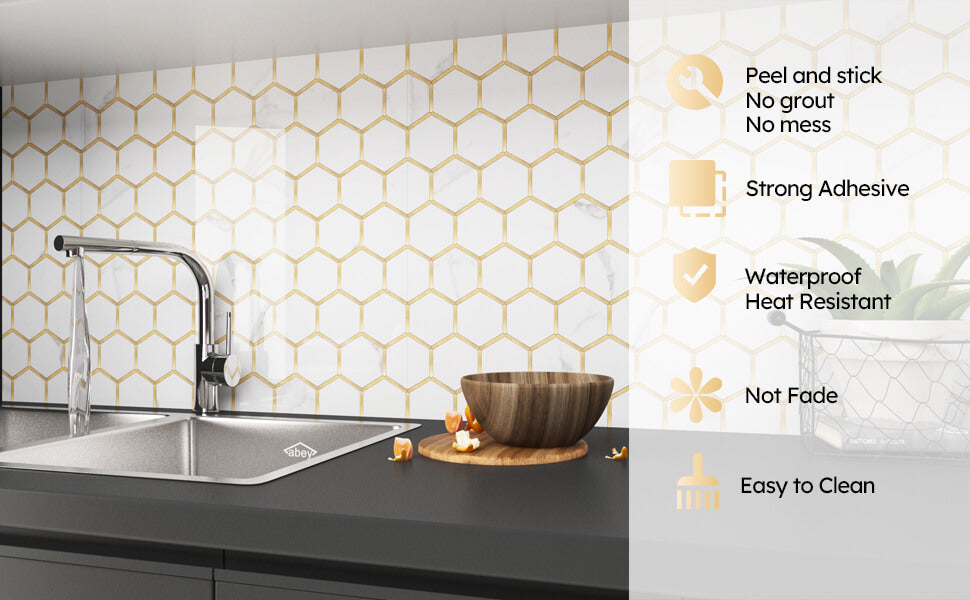
Installation: Peel and Stick
Use: Bathroom, Kitchen, Living Room
PRODUCT DETAILS