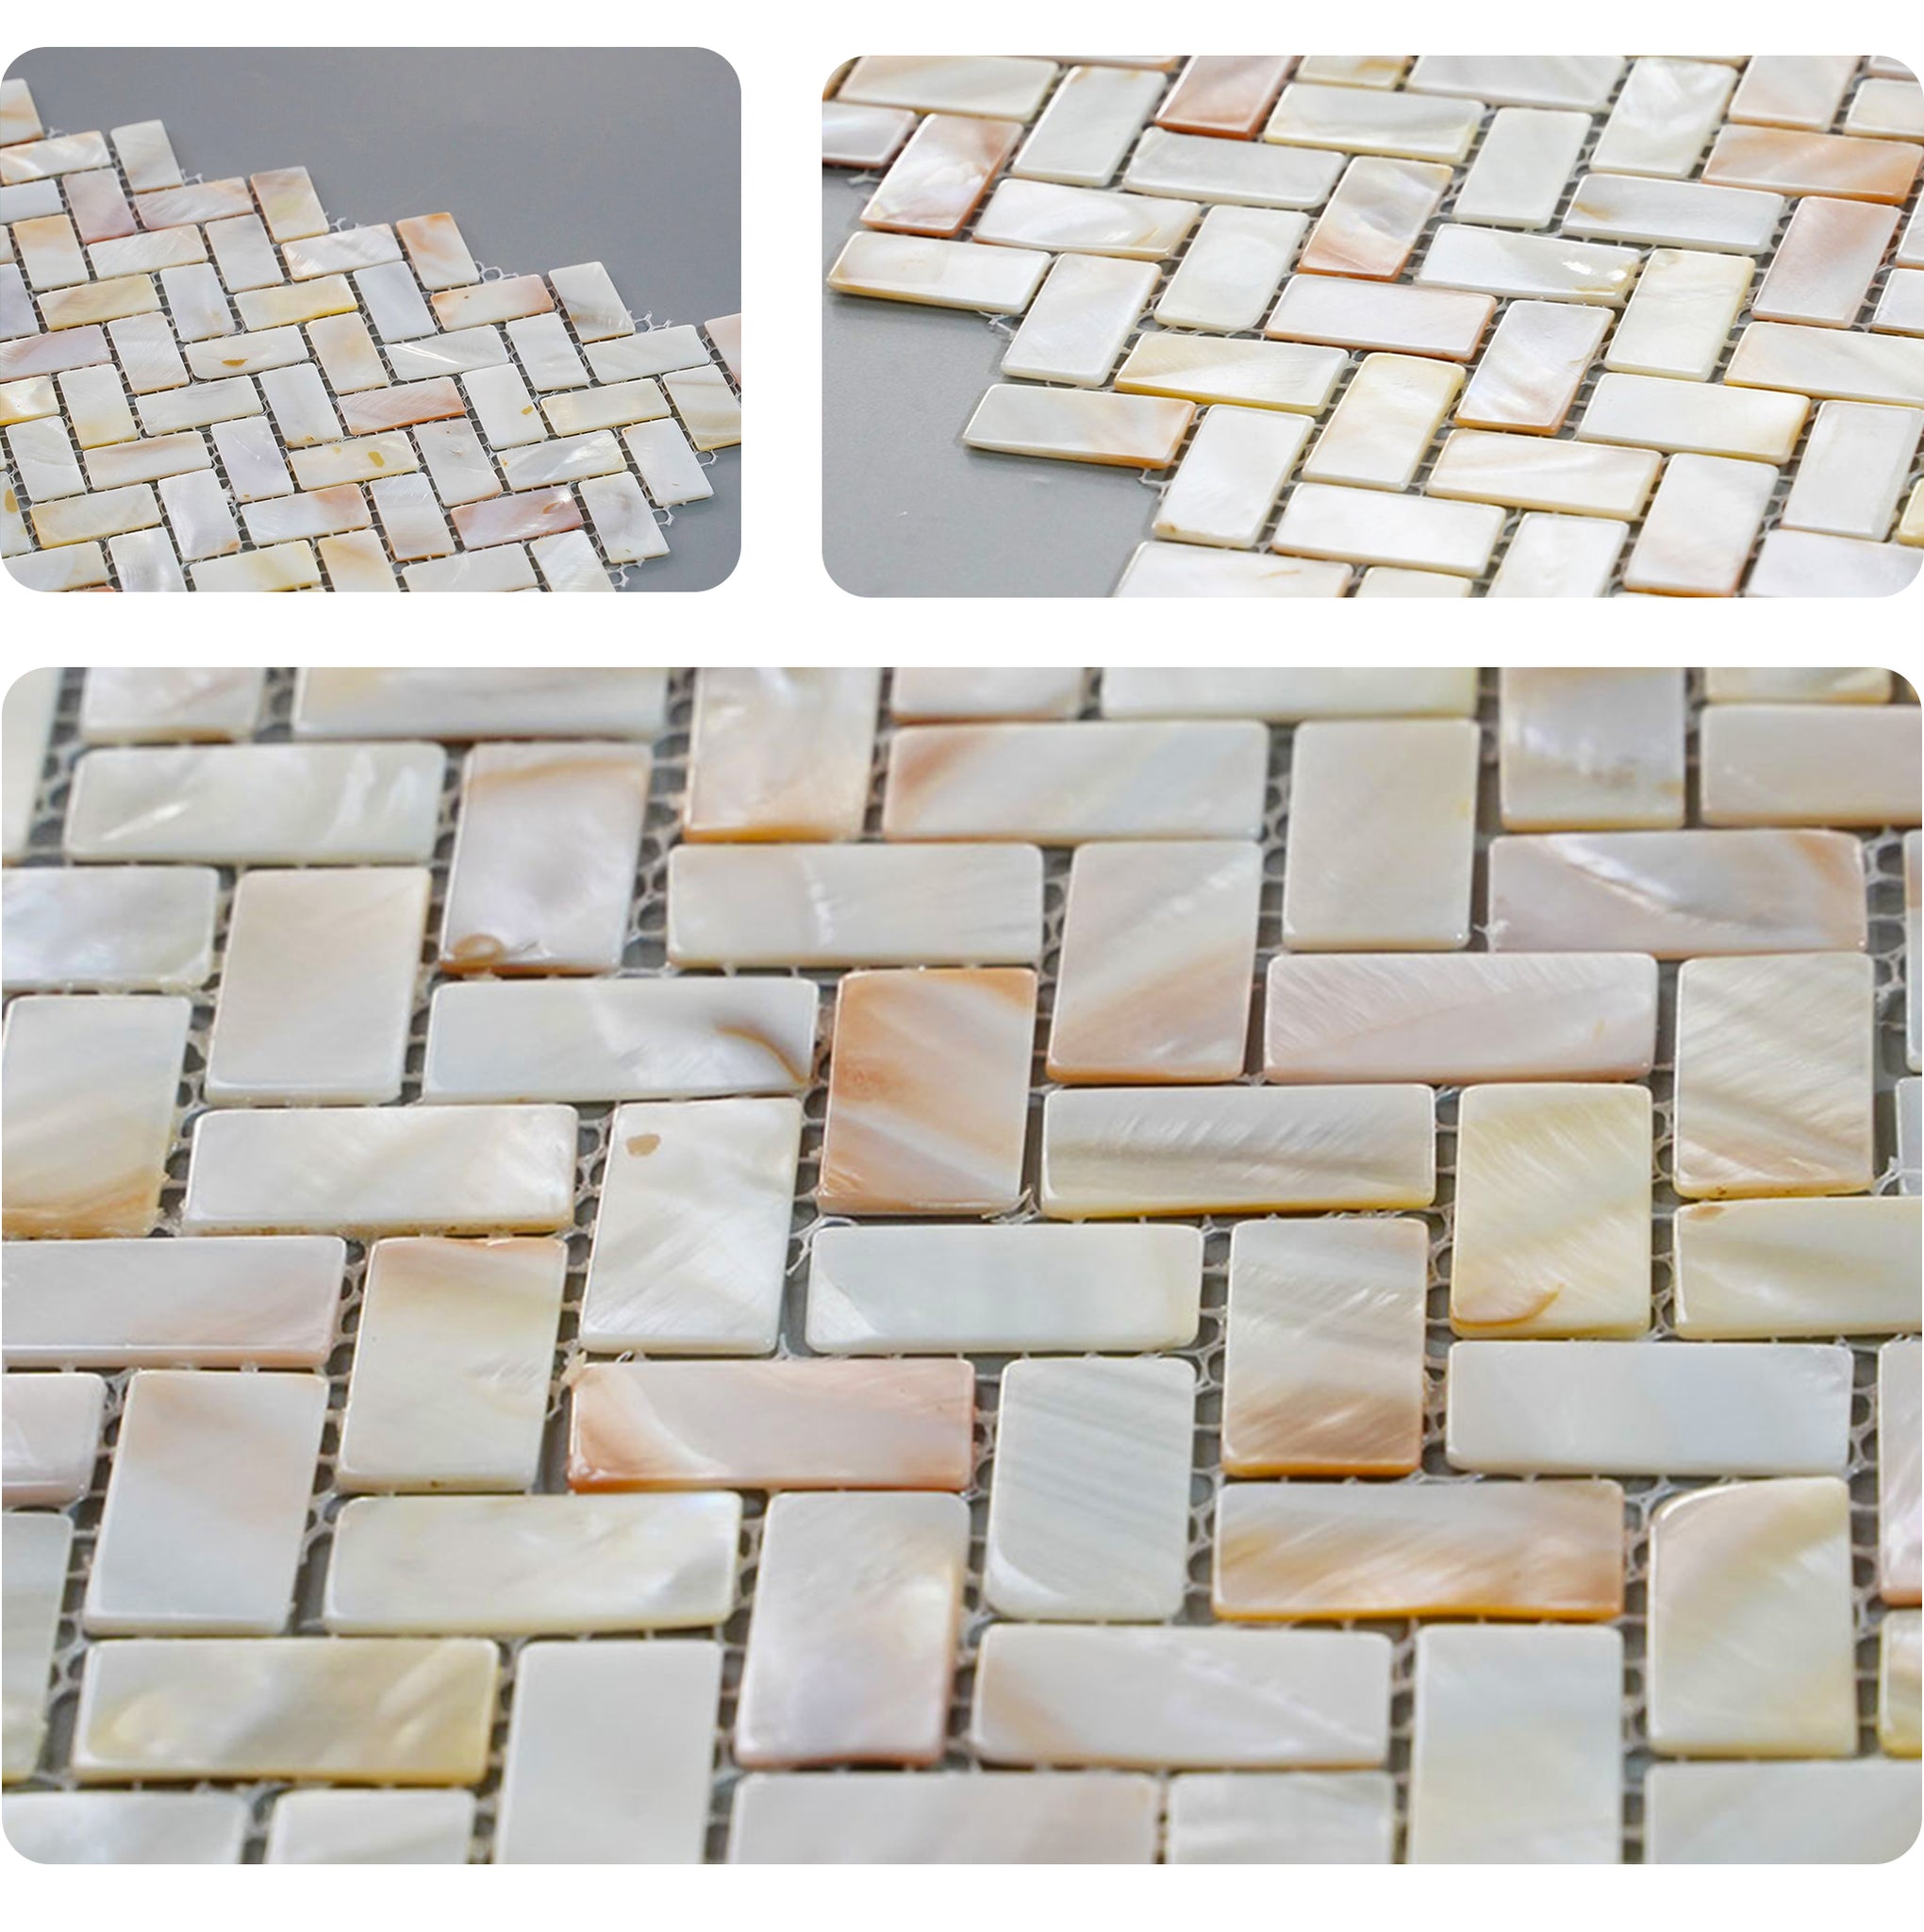
SPECIFICATIONS
| Brand |
Diflart |
Color |
Natural Color |
| Size |
12"×12" |
Thickness |
2mm |
| Weight |
0.5 LB |
Style |
Herringbone |
| Use |
Wall, Indoor only |
Material |
Pearl Shell |
| Mesh |
Fiberglass |
Coverage |
10 Pcs /Box, 1 sq.ft/piece |
PRODUCT DETAILS
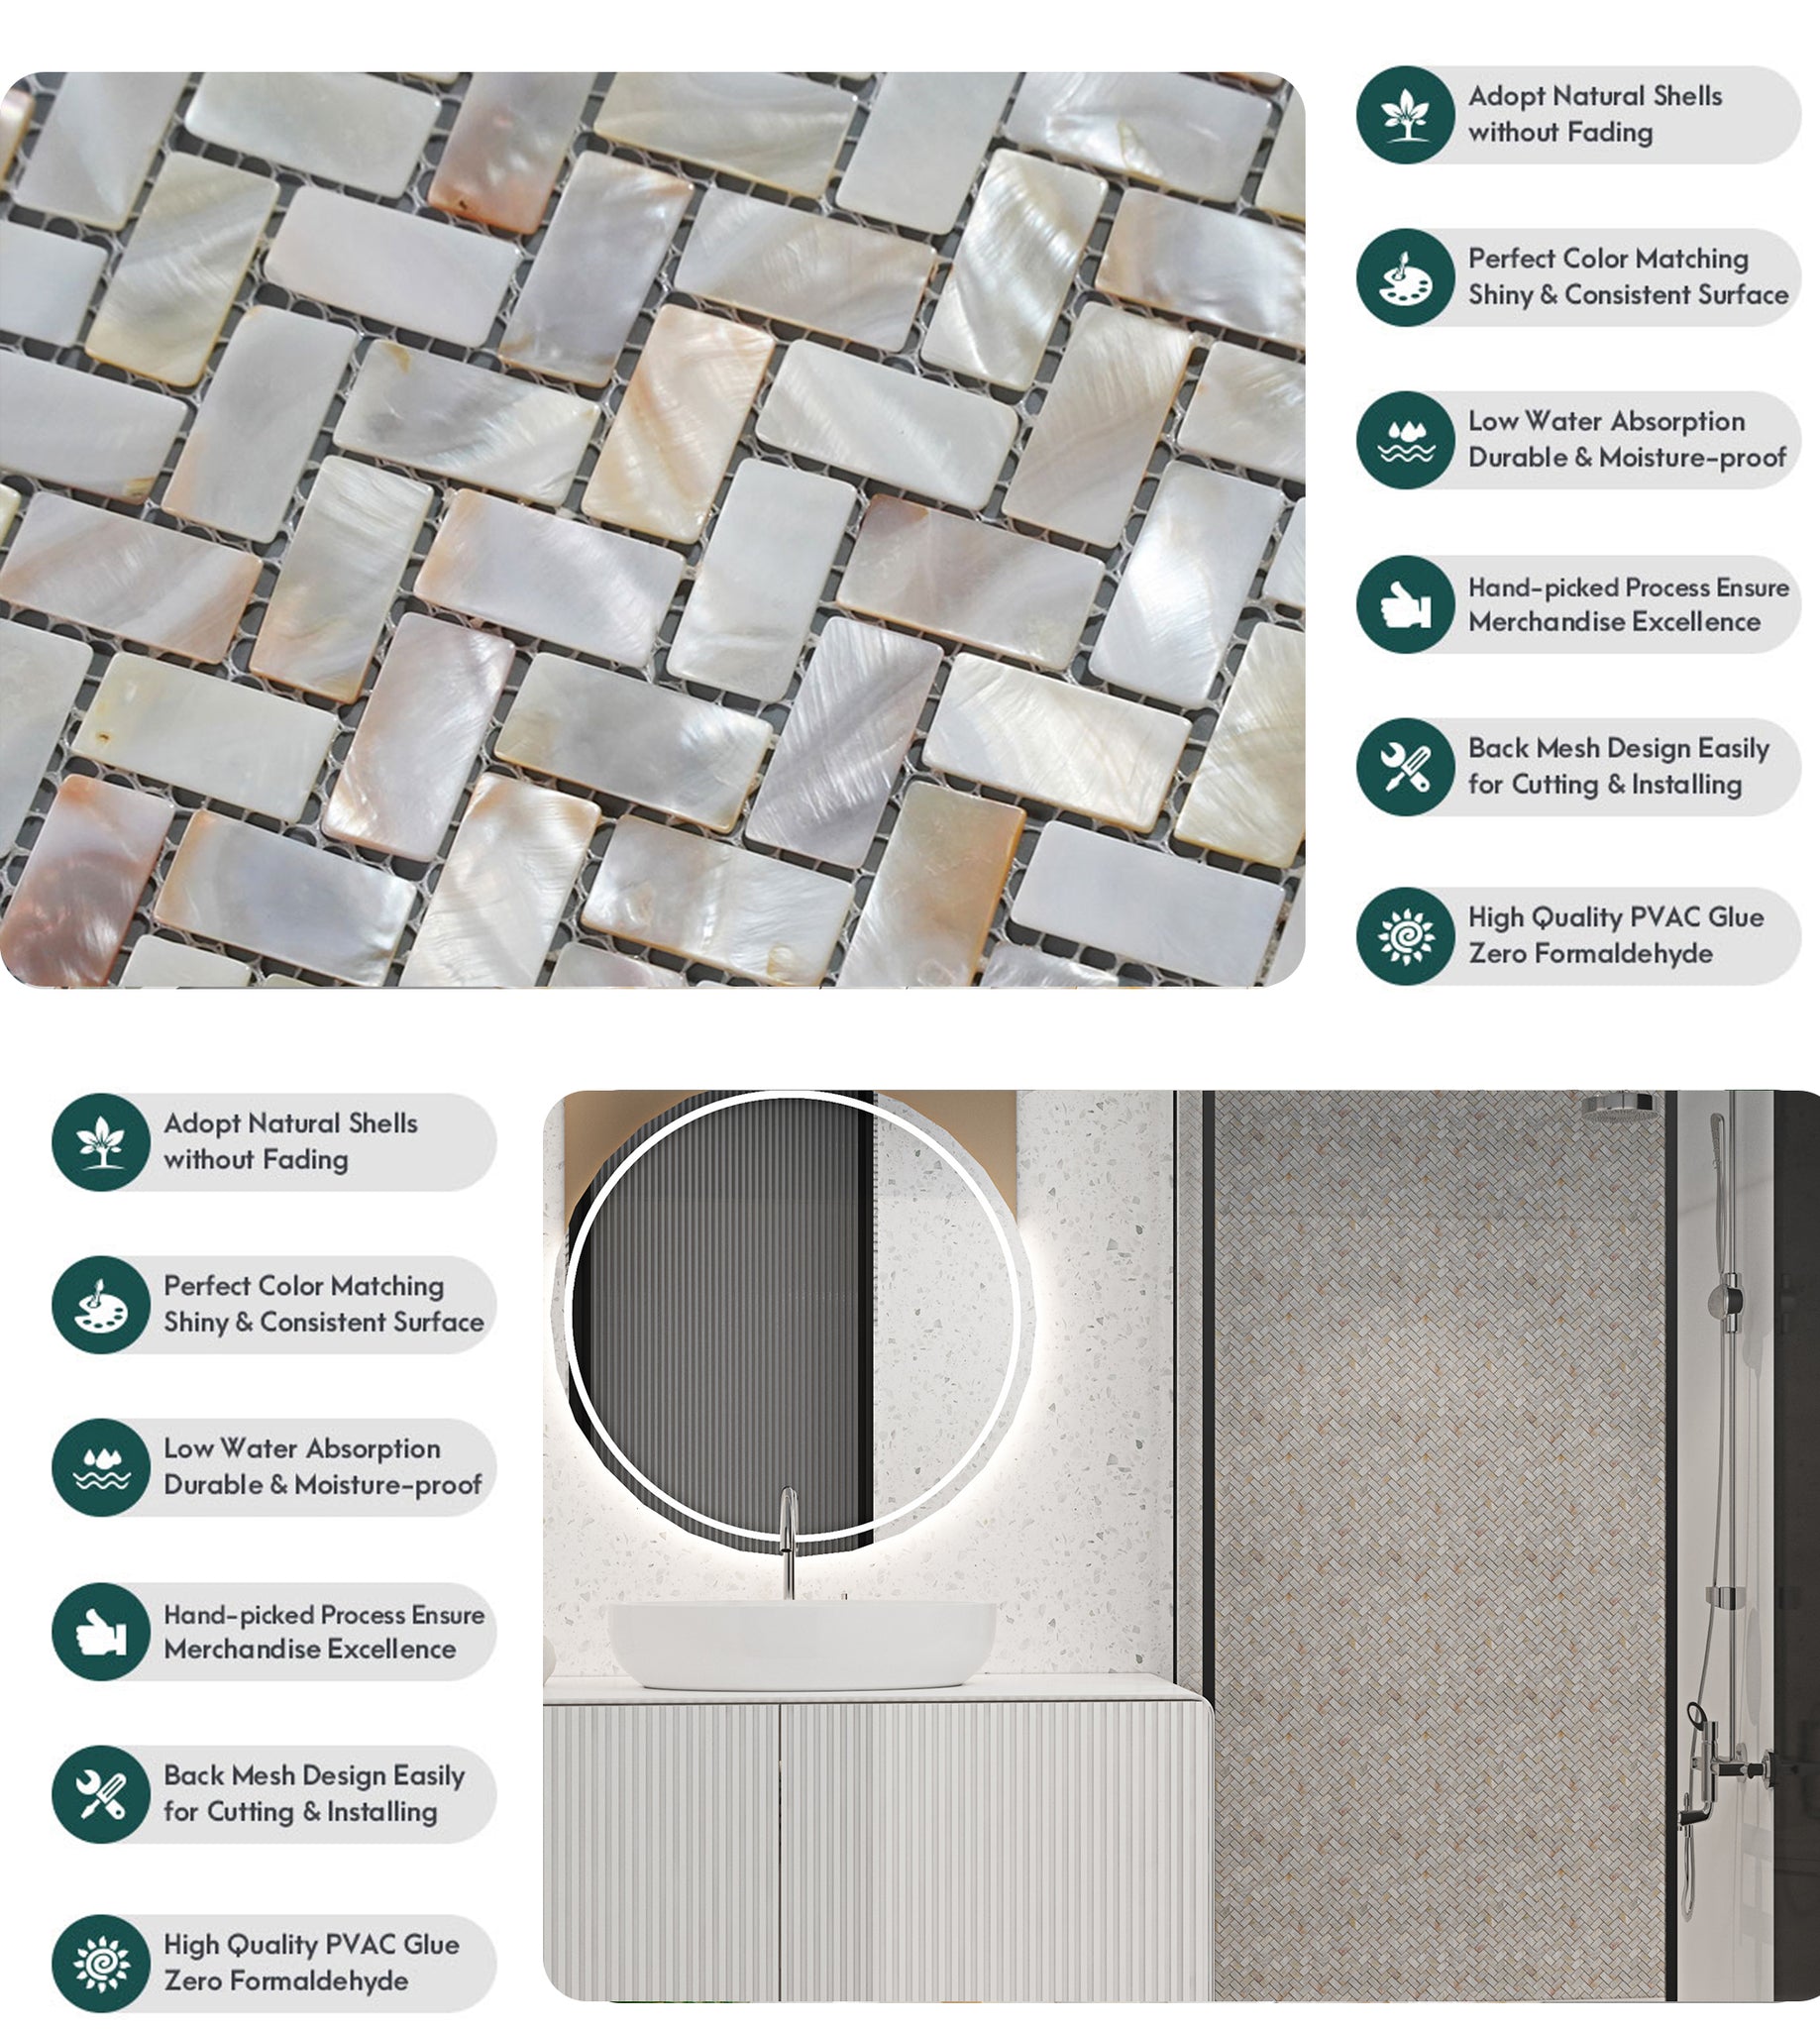
Mother Of Pearl Shell Mosaic Herringbone Tile


Install Instructions:
1. Remove the switch plates, clean and lightly sand the wall. Before installing the mother of pearl tiles on your backsplash, the surface should be clean and flat.
2. Open boxes and layout all of the tiles in the order you would like to place them on the wall. Plan how pieces will fit around the outlets. For installing shell tile around the outlets, cut the mesh with scissors. It should be easy to cut around the outlets because the pearl tiles are so thin.
3. Apply thinset adhesive onto the backsplash wall using a 3/16” trowel. Be sure that your thinset is white as the pearl tiles are inherently translucent. On the other hand, if you would like your tiles to have grey hues in them, than we recommend using a grey thinset. When applying thinset cover the backsplash area at a forty-five-degree angle and swipe. Mother of pearl tiles is lightweight thin tiles so you only need to apply a thin layer of adhesive.
4. Once your adhesive is on the wall, place the mother of pearl tile on the wall over the thin layer of adhesive. Cut the edges of the tile with glass tile nippers or a wet saw to ensure a perfect fit.
5. After the adhesive has dried you are ready to grout. Mother of pearl tiles has a high sheen so be sure to use non-sanded grout to avoid scratching the pearl surface. The grout mixture should be the consistency of peanut butter. After thoroughly mixing, apply the grout with a grout float by spreading the grout all over the shell tiles. Let the grout sit for 10-20 minutes.
6. Then, wipe down the tiles with water and a sponge. Be sure to remove all grout haze from the pearl tiles.